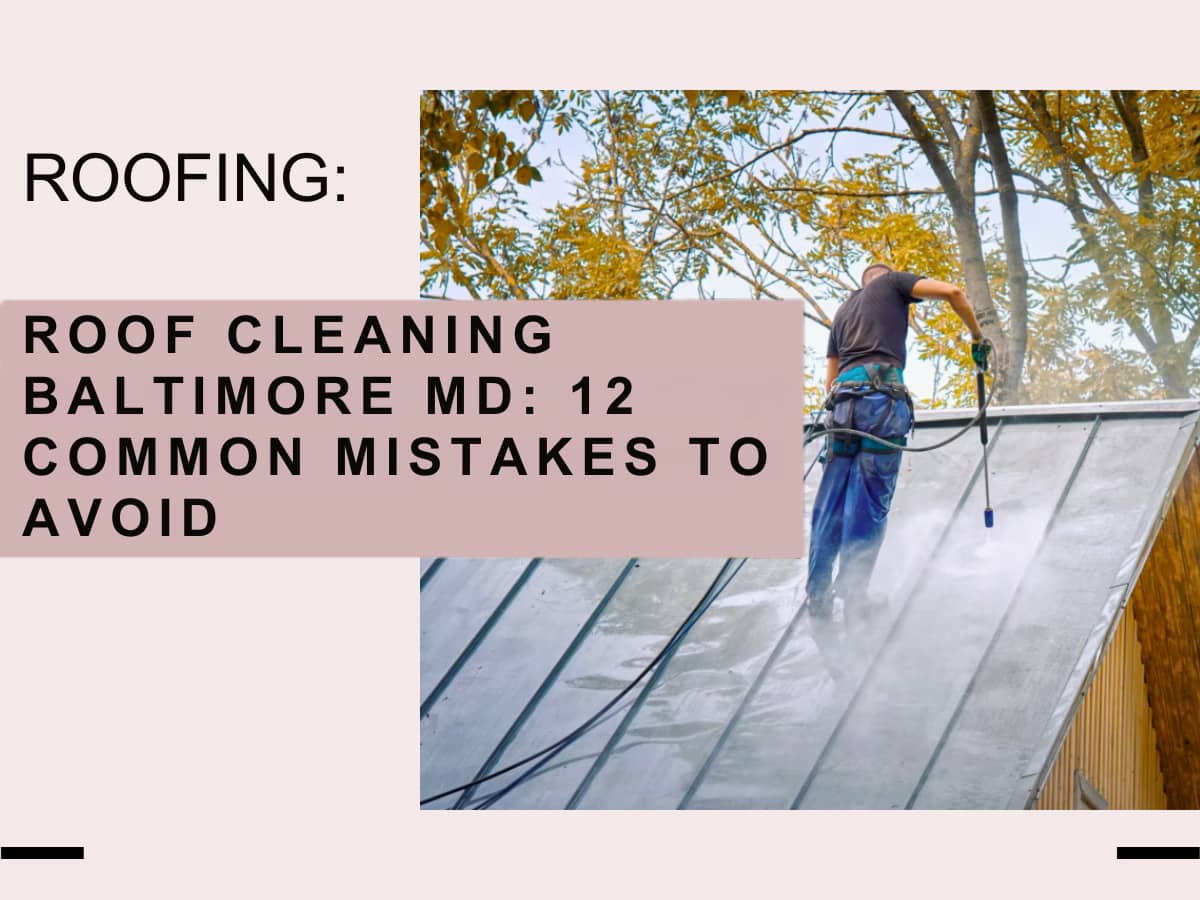
Last Updated on July 2, 2025 by SampleBoard
Repairing a roof can be a daunting task for any homeowner, yet with the proper knowledge and tools, it's possible to address common issues effectively.
DIY roof repair can help save money and allow immediate action when problems arise.
This comprehensive guide explores the essential tools, materials, and techniques homeowners need to repair roofs safely and efficiently.
Embarking on a DIY roof repair project, such as repairing a leaking roof, requires the correct tools to ensure efficiency and safety, especially when tackling tasks like roof leak repair Perth homeowners often face.
Below are the essential tools every homeowner needs to tackle roof repairs effectively:
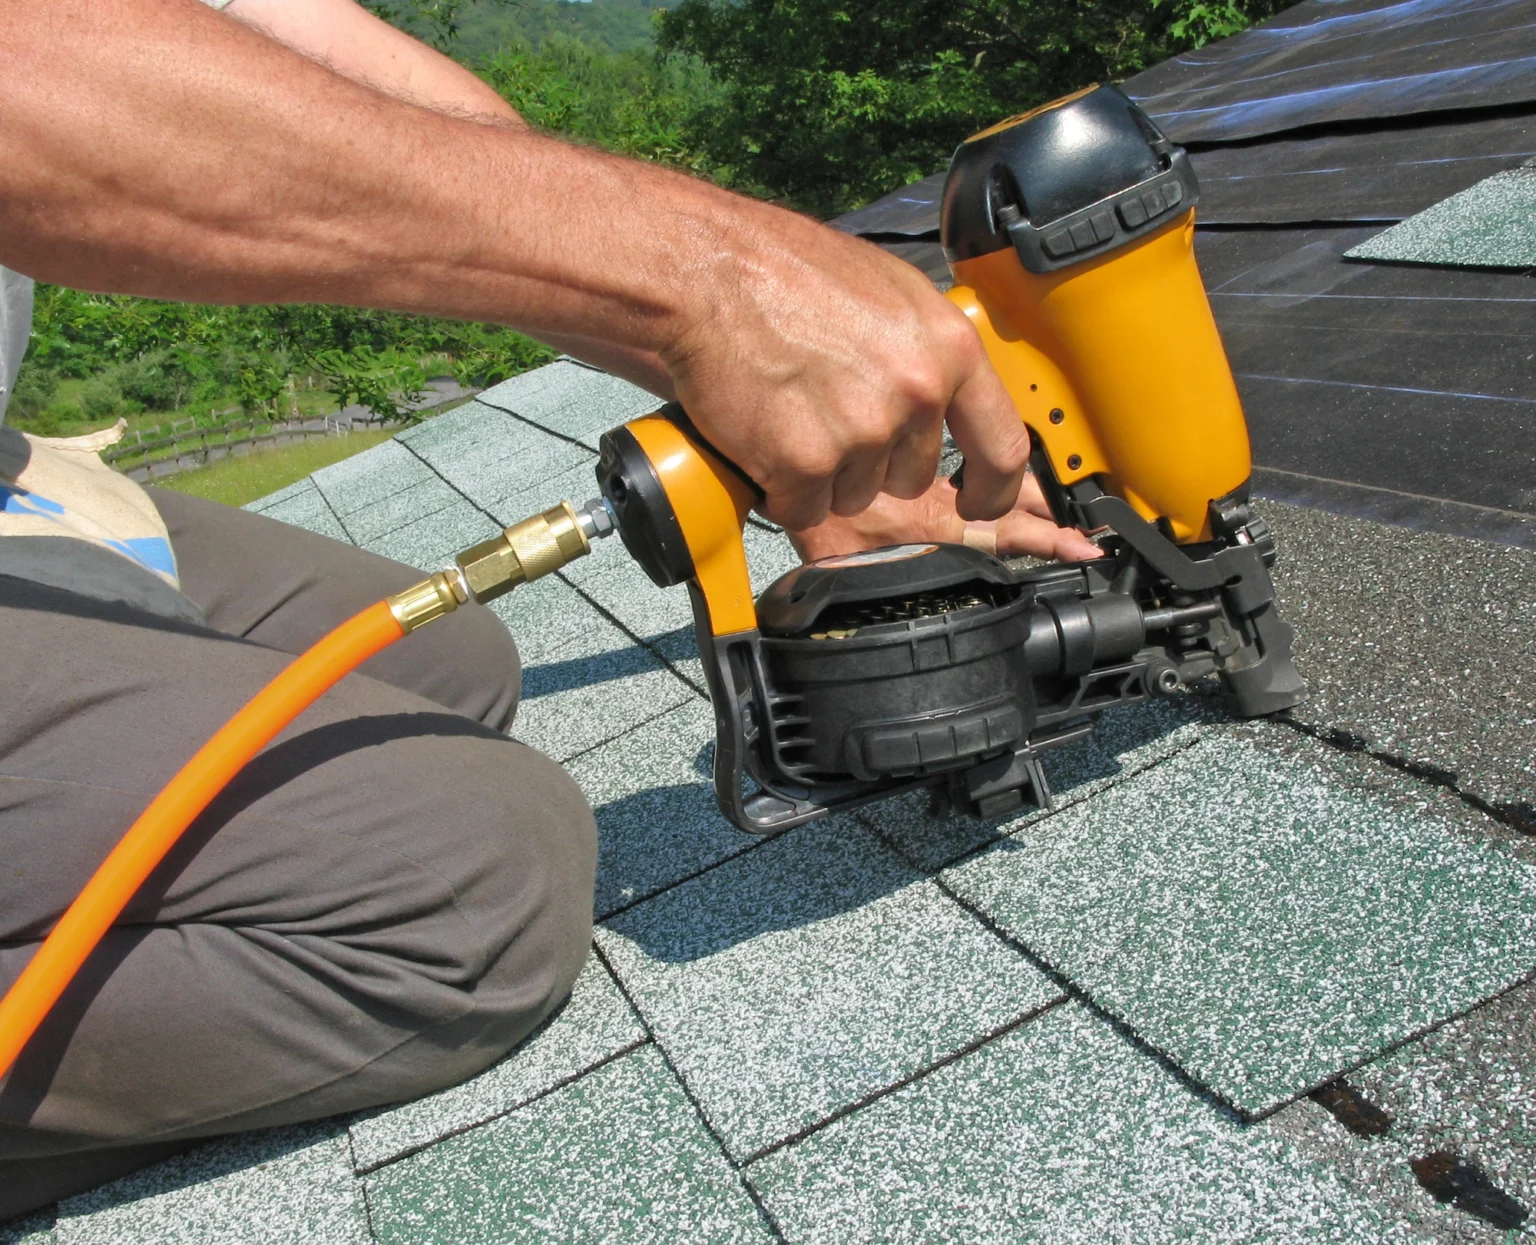
A roofing nail gun must be considered for efficient and reliable roofing repairs.
This specialized tool is designed to dramatically speed up securing shingles and other roofing materials.
Unlike manual hammering, which can be time-consuming and physically taxing, a roofing nail gun can provide a swift, consistent application of nails with minimal effort.
It ensures that each nail is driven uniformly to reduce the risk of damage to delicate shingles and enhance the overall integrity of the roofing job.
This level of efficiency and reliability is crucial for homeowners looking to achieve professional-quality results in their DIY roofing projects.
Moreover, for those looking to invest in a high-quality tool, it’s advised to use a roofing nail gun, which offers durability and precision by ensuring that each nail is properly placed without damaging the roofing materials.
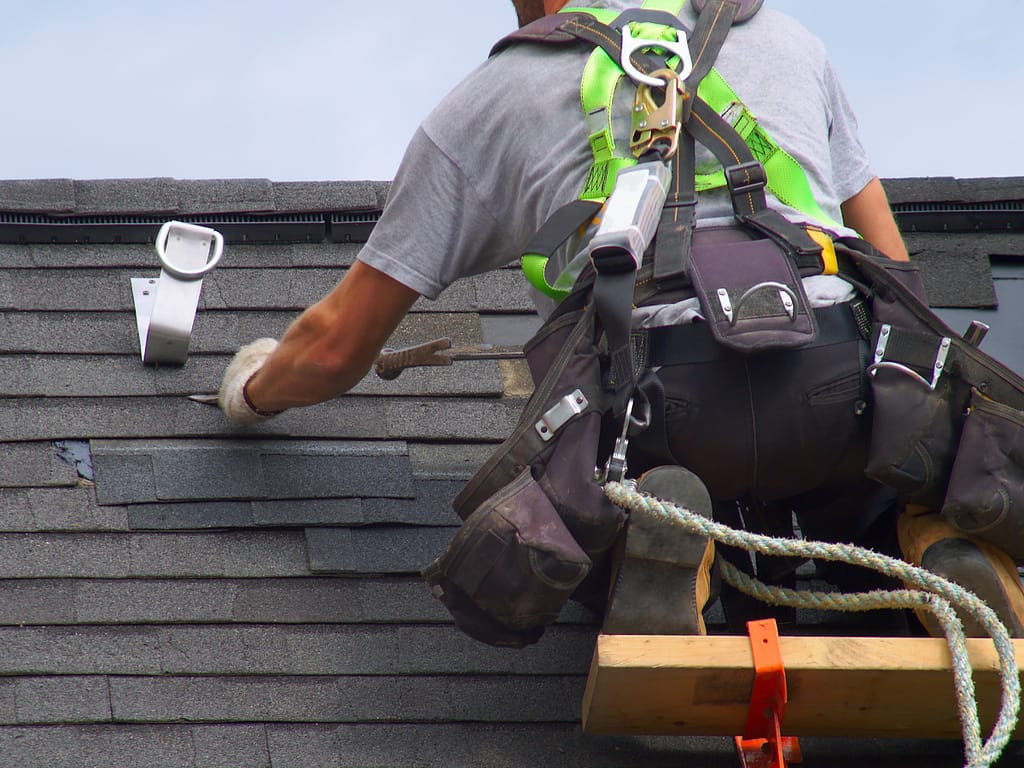
Safety is the primary concern when undertaking roof repairs, mainly when working at heights.
This is where a sturdy ladder and a well-fitted safety harness enter the picture.
They're indispensable for ensuring a secure environment.
The ladder should be robust and extend at least three feet above the roof to provide a safe grip when ascending or descending.
Additionally, it should be positioned on stable ground to prevent wobbling.
When selecting a ladder, homeowners may also consider platform ladders, which provide additional stability and a more secure standing surface when working at heights.
Conversely, a safety harness adequately adjusted to fit the user snugly is crucial for preventing falls.
This safety gear should be connected to a secure anchor point on the roof.
This ensures the harness will catch the wearer in the event of a slip, significantly reducing the risk of injury.
Tools like a hammer and a pry bar are essential for effective DIY roof repair.
The hammer serves multiple purposes, primarily for removing old nails and other fasteners that secure damaged shingles or tiles.
Consequently, using a hammer can help clean up such materials without damaging the roof structure.
On the other hand, a pry bar complements the hammer by providing the leverage needed to lift and remove old shingles or tiles safely.
Its flat, sharp edge allows it to slide under materials, making it easier to break the seals and adhesives holding roofing materials in place.
These tools are vital in preparing the roof surface for installing new materials, ensuring a clean and optimal base for repairs.
A utility knife is an indispensable tool in roof repair, particularly for customizing the size of shingles or roofing materials to fit specific areas.
Its precision blade allows for clean and accurate cuts, essential when working around obstacles such as vents, chimneys, or roof edges.
This ensures that each piece fits snugly, maintaining the roof's integrity and aesthetic.
Alongside the utility knife, a caulking gun is pivotal in roof maintenance.
It's used to apply sealants and adhesives that waterproof vulnerable joints or areas where water might penetrate, such as around flashing, vents, and edges.
This tool ensures that sealant application is controlled and even, which is crucial for effective waterproofing.
Accurate measurements are the cornerstone of successful roof repairs, ensuring that materials fit perfectly and function optimally.
As such, a measuring tape is one of the go-to tools.
It's essential for gauging the lengths and widths of roofing materials, confirming that each piece is cut to the precise dimensions required for a tight, seamless fit.
Complementing the measuring tape, a chalk line marks long, straight guidelines across the roof surface.
This tool accurately aligns shingles or tiles, helping maintain a visually appealing and uniform layout.
It also ensures that rows are straight and correctly oriented, contributing to the roofing installation's aesthetic quality and structural integrity.

Mastering effective roof repair techniques is crucial for maintaining the integrity and longevity of the home.
With the proper methods, homeowners can confidently address common roofing issues to ensure a durable and weather-resistant roof that withstands time and the elements.
Below are the essential techniques for effective DIY roof repair:
A thorough inspection is imperative before initiating any roof repair to accurately assess the damage's extent.
This initial step involves a detailed examination of the entire roofing system.
Homeowners should specifically look for the following:
By identifying these issues, homeowners can determine the necessary repairs and ensure that all problem areas are addressed to maintain the roof's structural integrity and water resistance.
This comprehensive evaluation can help prevent future problems and extend the roof's life.
Replacing damaged shingles is critical in roof maintenance to prevent leaks and further damage.
Here's a detailed approach to effectively replace shingles:
Following these steps ensures that the new shingles are installed securely and seamlessly, which restores the roof's integrity and weather resistance.
Properly sealing joints and edges ensures a roof's longevity and waterproof integrity.
To achieve this, use a caulking gun with a high-quality waterproof sealant.
Focus on critical areas around chimneys, vents, and the edges where the roof meets gutters or adjoining walls.
These are common water entry points, which can lead to significant damage if not properly sealed.
Moreover, the sealant should be applied evenly and thoroughly, filling all gaps and cracks.
This prevents water from seeping underneath the shingles, safeguarding the roof's underlayment and structural components from water damage and potential leaks.
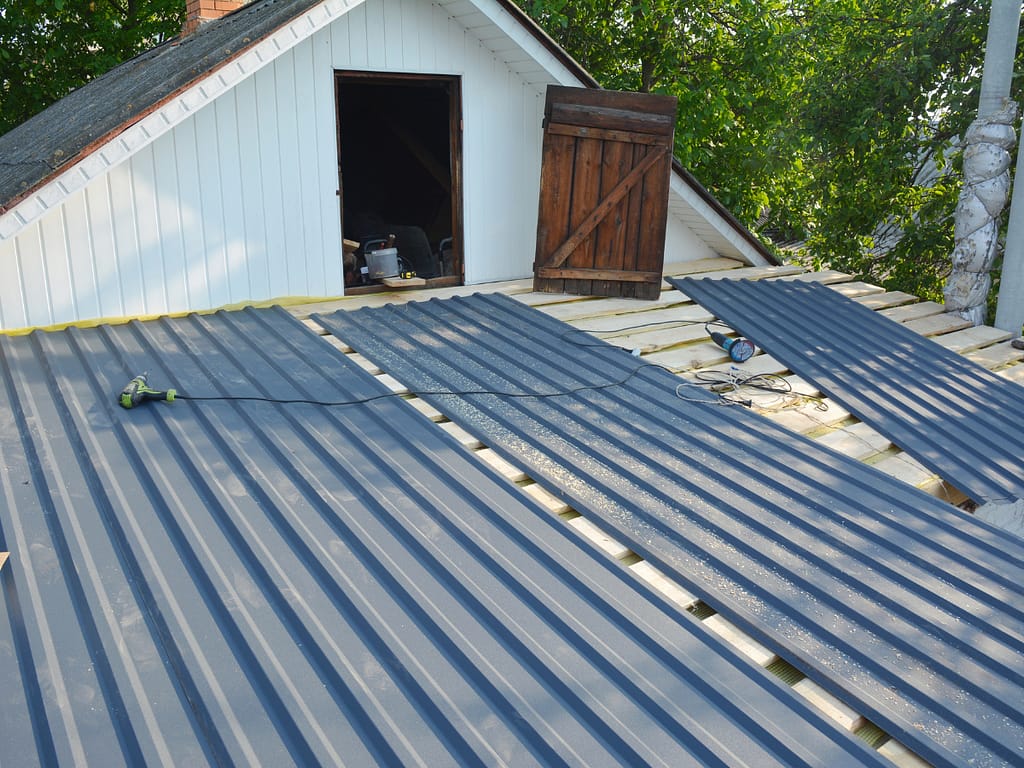
Repairing flat roofs involves specific techniques due to their unique structure and vulnerability to water pooling.
Here's a step-by-step approach:
These steps are critical in maintaining a flat roof's functionality and integrity, preventing further damage, and extending its lifespan.
Regular inspection and maintenance are crucial to ensuring the roof's longevity and preventing minor issues from escalating into costly repairs.
It's essential to clean gutters and downspouts frequently to avoid water accumulation, which can lead to water damage and structural issues.
Additionally, after severe weather conditions, inspect the roof for any signs of wear and tear, such as loose shingles, damaged flashing, or other vulnerabilities.
By addressing these issues promptly, homeowners can maintain the roof's structural integrity and mitigate the risk of more significant problems, thereby preserving the roof's effectiveness and durability over time.
DIY roof repair can be a rewarding project that enhances the longevity and durability of the home.
Homeowners can effectively tackle common roofing problems with the right tools and techniques.
Safety should always come first, and some repairs might require professional attention.
By keeping the information mentioned above in mind, homeowners can ensure their roofs remain in good condition for years to come.