Last Updated on January 24, 2024 by SampleBoard
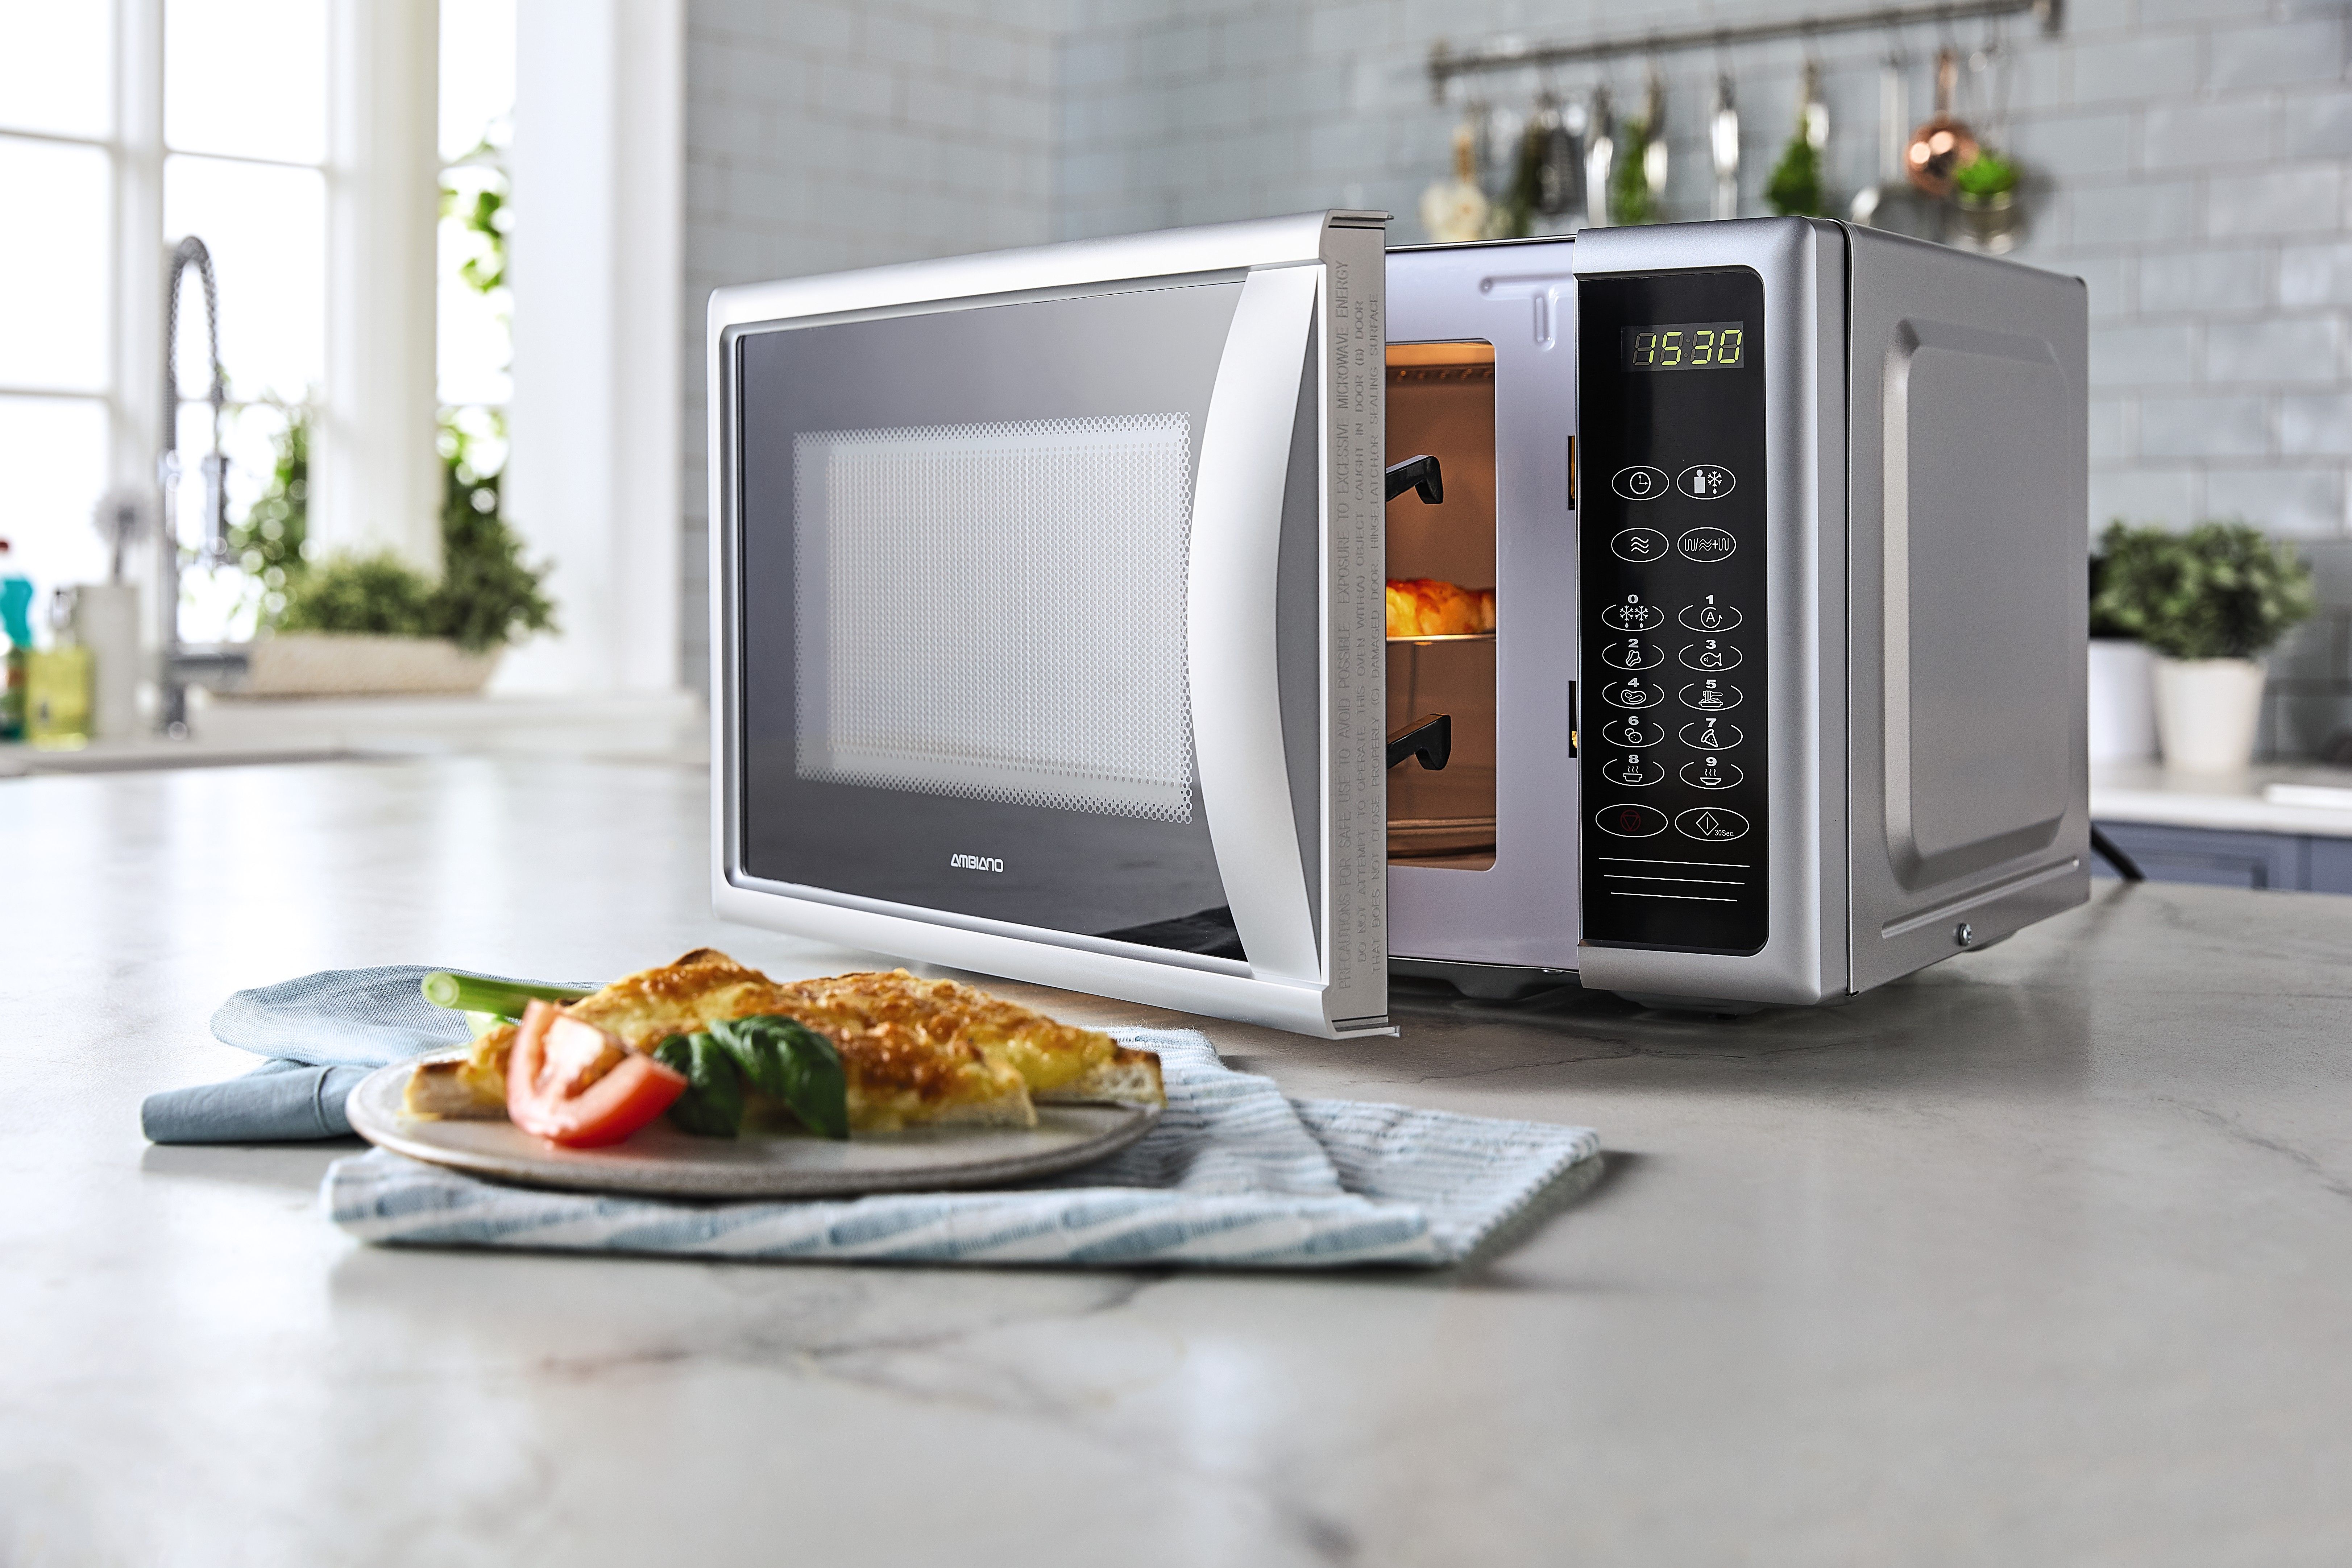
In the heart of culinary convenience, the microwave stands as a kitchen workhorse.
When glitches occur, delving into the realm of Samsung appliance repair
This guide serves as your compass, providing unique insights into Samsung microwave repair, ensuring a successful revival of this essential kitchen appliance.
Image credit: Good Housekeeping
The Significance of DIY Appliance Repair
Microwaves, with their quick-cooking prowess, play a pivotal role in modern kitchens.
When faced with issues like uneven heating, unusual sounds, or unresponsive controls, engaging in DIY appliance repair becomes a proactive measure.
Beyond the financial savings, repairing your Samsung microwave at home provides a sense of accomplishment and control over your kitchen's functionality.
Samsung Microwave Model-Specific Troubleshooting Guide
Microwave Model Unique Troubleshooting Tips Samsung Solo Microwave 1. Microwaving Noises: Lubricate the turntable motor shaft. Check the stirrer blade. 2. Unresponsive Control Panel: Reconnect ribbon cable. Inspect the control board. Samsung Convection Microwave 1. Turntable Issues: Check for worn-out rollers. Lubricate the turntable motor. 2. Sparks Inside the Microwave: Look for metal pieces. Examine the waveguide cover. Samsung Over-the-Range Microwave 1. Door Closure Problems: Check door hinge alignment. Clean door seal. 2. Uneven Heating: Ensure the microwave is on a level surface. Check the turntable for dark spots.
DIY Samsung Microwave Repair: A Guided Expedition
Microwave Not Heating:
Test Thermal Cut-Off Fuse:
Locate the thermal cut-off fuse on the control board.
Test the fuse for continuity using a multimeter.
Replace the fuse if continuity is interrupted.
Uneven Heating:
Check Turntable and Surface:
Inspect the turntable for any signs of damage.
Ensure the microwave is on a level surface.
Unusual Noises During Operation:
Lubricate Turntable Motor Shaft:
Access the turntable motor underneath the microwave.
Lubricate the motor shaft with microwave-safe oil.
Inspect Stirrer Blade:
Examine the stirrer blade for cracks or deformities.
Clean the stirrer blade to remove any debris.
Door Issues (Not Closing Properly):
Adjust Door Hinges:
Locate the door hinges on either side of the microwave.
Adjust the hinges to ensure proper alignment.
Clean Door Seal:
Wipe down the door seal with a mild detergent.
Ensure there is no debris or food particles hindering closure.
Sparks Inside the Microwave:
Inspect Interior for Metal Objects:
Remove any small metal pieces inside the microwave.
Avoid using metal utensils or containers.
Examine Waveguide Cover:
Access the waveguide cover usually on the microwave's interior.
Check for signs of burns or deterioration.
Replace if needed.
Control Panel Not Responding:
Reconnect Ribbon Cable:
Disconnect the ribbon cable connecting the control panel.
Reconnect the ribbon cable securely.
Inspect Control Board:
Examine the control board for visible signs of corrosion.
Clean or replace the control board as needed.
Pro Tips for Effortless DIY Microwave Repair
Invest in Microwave-Safe Lubricants:
When lubricating components, choose microwave-safe oils to avoid any contamination.
Regular Maintenance Checks:
Periodically inspect turntable rollers, stirrer blades, and door seals for wear and tear.
Mindful Microwave Usage:
Avoid using metal utensils or containers in the microwave to prevent sparks and damage.
Stay Updated on Manufacturer Guidelines:
Refer to the microwave's manual or the manufacturer's website for specific troubleshooting tips.
Gentle Cleaning Practices:
Use mild detergents and soft cloths for cleaning to avoid damaging sensitive components.
Patience is a Virtue:
Approach each repair step methodically and patiently, ensuring accurate diagnosis and resolution.
Share Your Insights:
Join online DIY communities to share your experiences and learn from others in the repair journey.
Empowerment in Microwave Mastery
Embarking on the path of DIY Samsung microwave repair opens doors to both cost savings and a sense of mastery over your kitchen appliances.
With this in-depth guide, you can confidently address issues unique to your microwave model.
From unusual noises to door closure problems, the realm of DIY appliance repair beckons, offering a rewarding approach to kitchen maintenance.