Last Updated on September 28, 2026 by Rosslyn Tebbutt
The first showing is scheduled for Saturday, the listing photos are Thursday, and the house still looks like a house someone lives in.
That’s the position most sellers find themselves in — and it’s the moment the staging quote arrives and quietly rules itself out.
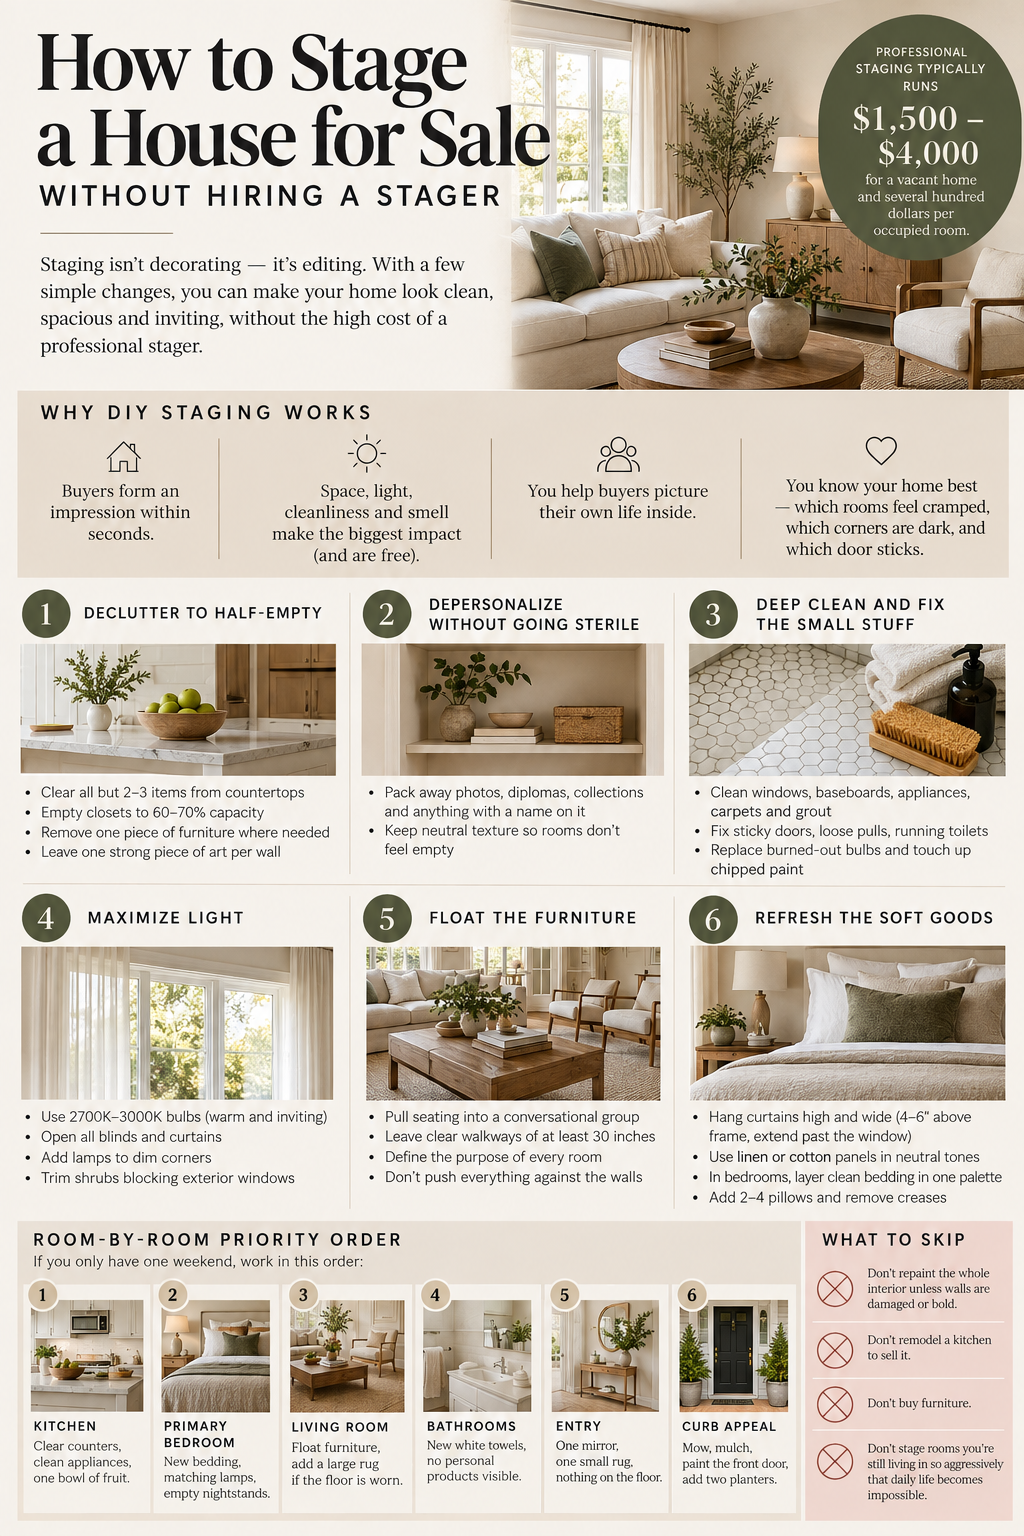
Professional staging typically runs $1,500 to $4,000 for a vacant home and several hundred dollars per occupied room.
That’s real money at a moment when you’re already paying for repairs, movers, and closing costs.
The good news is that staging isn’t decorating — it’s editing. And you can do the editing yourself.
Why DIY staging works
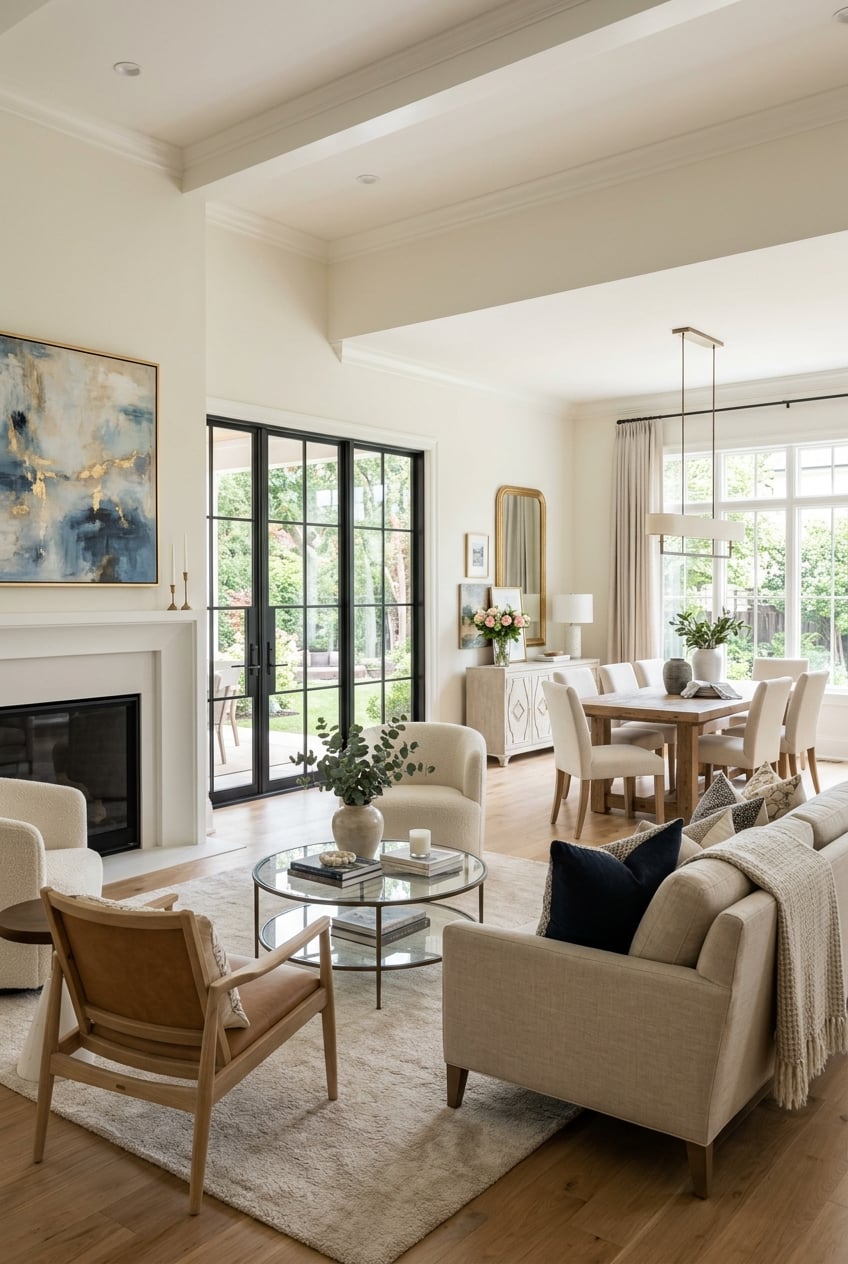
Staging isn’t about making a house look expensive. It’s about helping a buyer picture their own life inside it.
Buyers form an impression within seconds of walking in, and most of what shapes that impression is free: space, light, cleanliness, and smell.
A stager brings taste and rented furniture. You bring something a stager doesn’t have — you know which rooms feel cramped, which corners are dark, and which door sticks.
Step 1: Declutter to half-empty
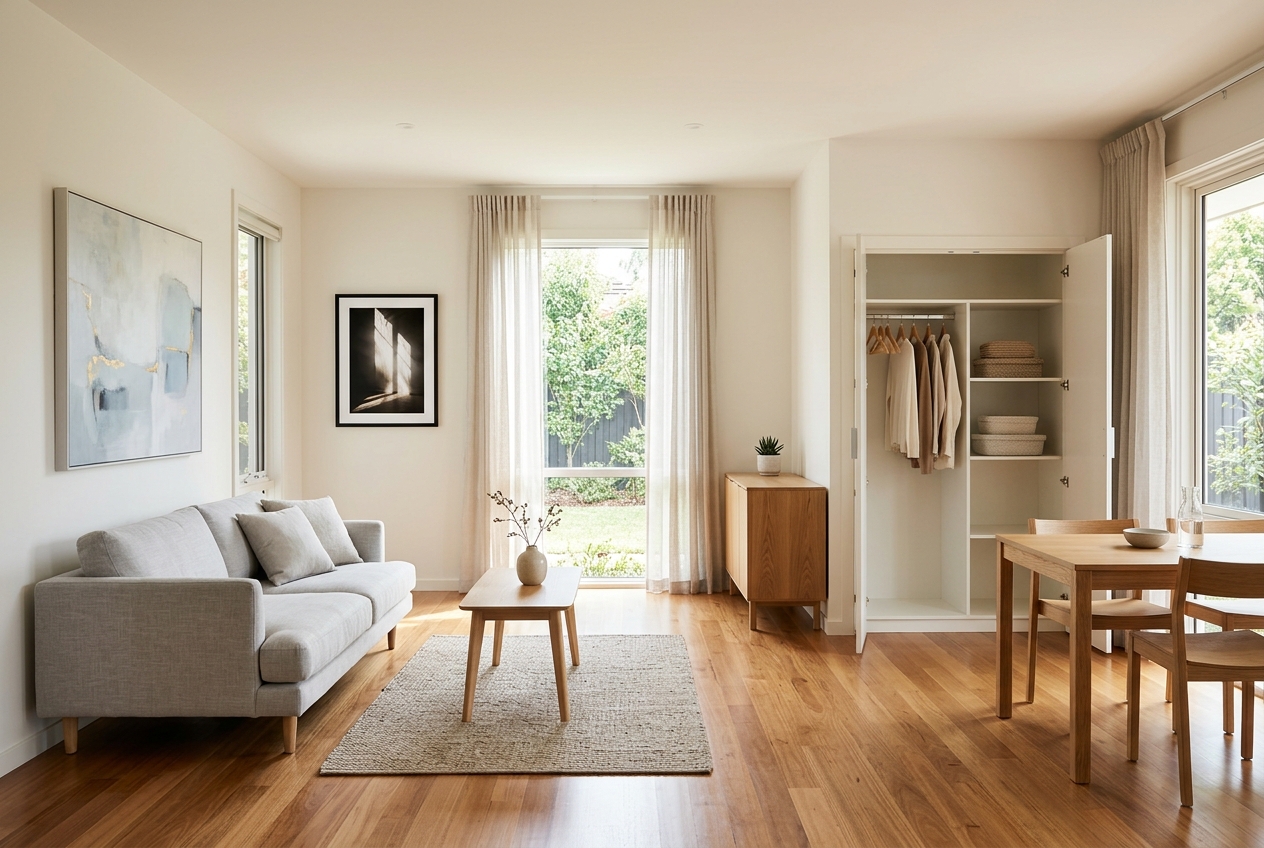
Remove roughly half of everything in each room. This is the single highest-impact move in DIY staging, and it costs nothing but time.
- Clear all but two or three items from every countertop
- Empty closets to 60–70% capacity so storage reads as generous
- Remove one piece of furniture from any room where you have to turn sideways to pass
- Take down excess wall art; leave one strong piece per wall
Rent a small storage unit if you need to. It’s cheaper than one week of a price reduction.
Step 2: Depersonalize without going sterile
Pack away family photos, diplomas, religious items, collections, and anything with a name on it.
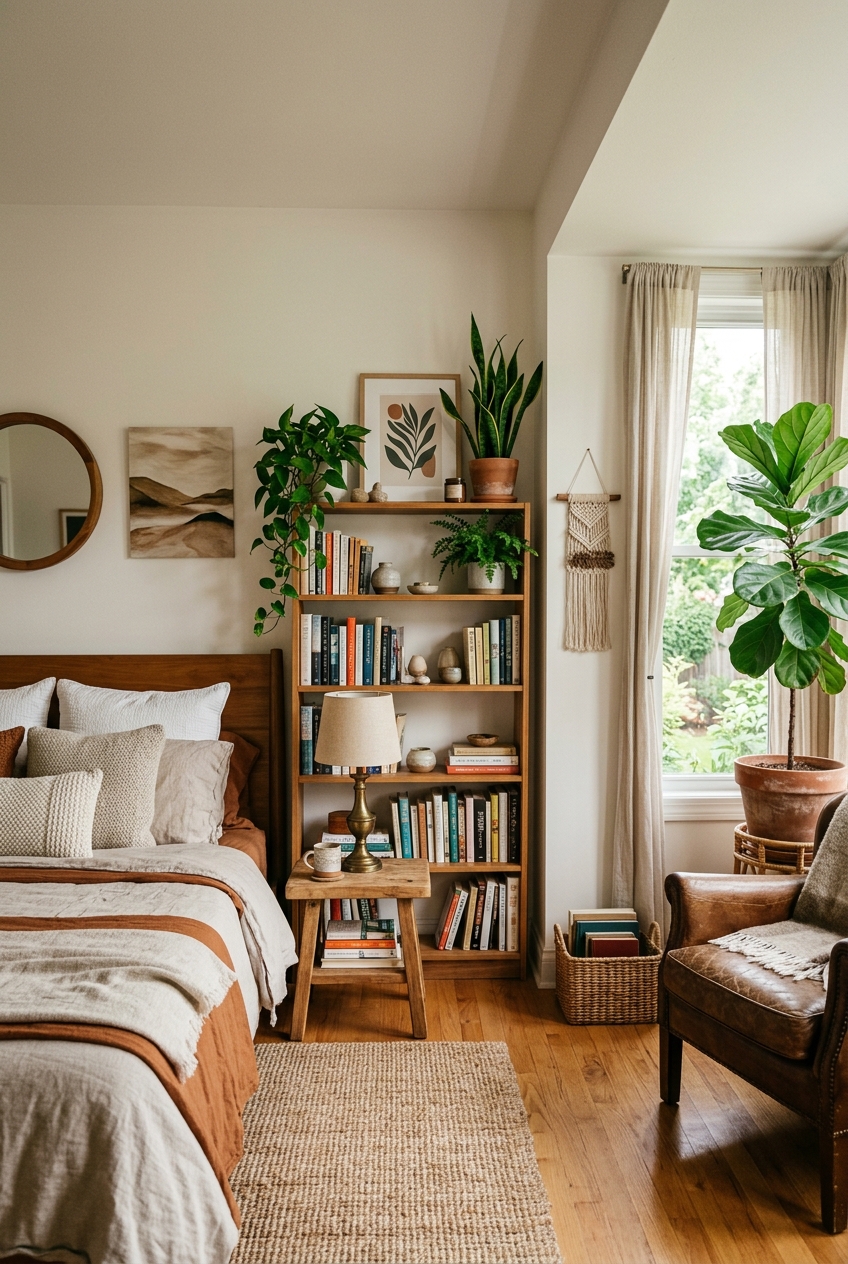
Buyers who see your life have to work harder to imagine theirs. Keep neutral texture — a stack of books, a bowl, a plant — so rooms don’t read as abandoned.
Step 3: Deep clean and fix the small stuff
Buyers read a dirty grout line as deferred maintenance on the whole house.
Clean windows inside and out, scrub baseboards, degrease the range hood, and shampoo carpets.
Then handle the punch list: sticky doors, loose cabinet pulls, running toilets, burned-out bulbs, chipped paint on door frames.
Step 4: Maximize light
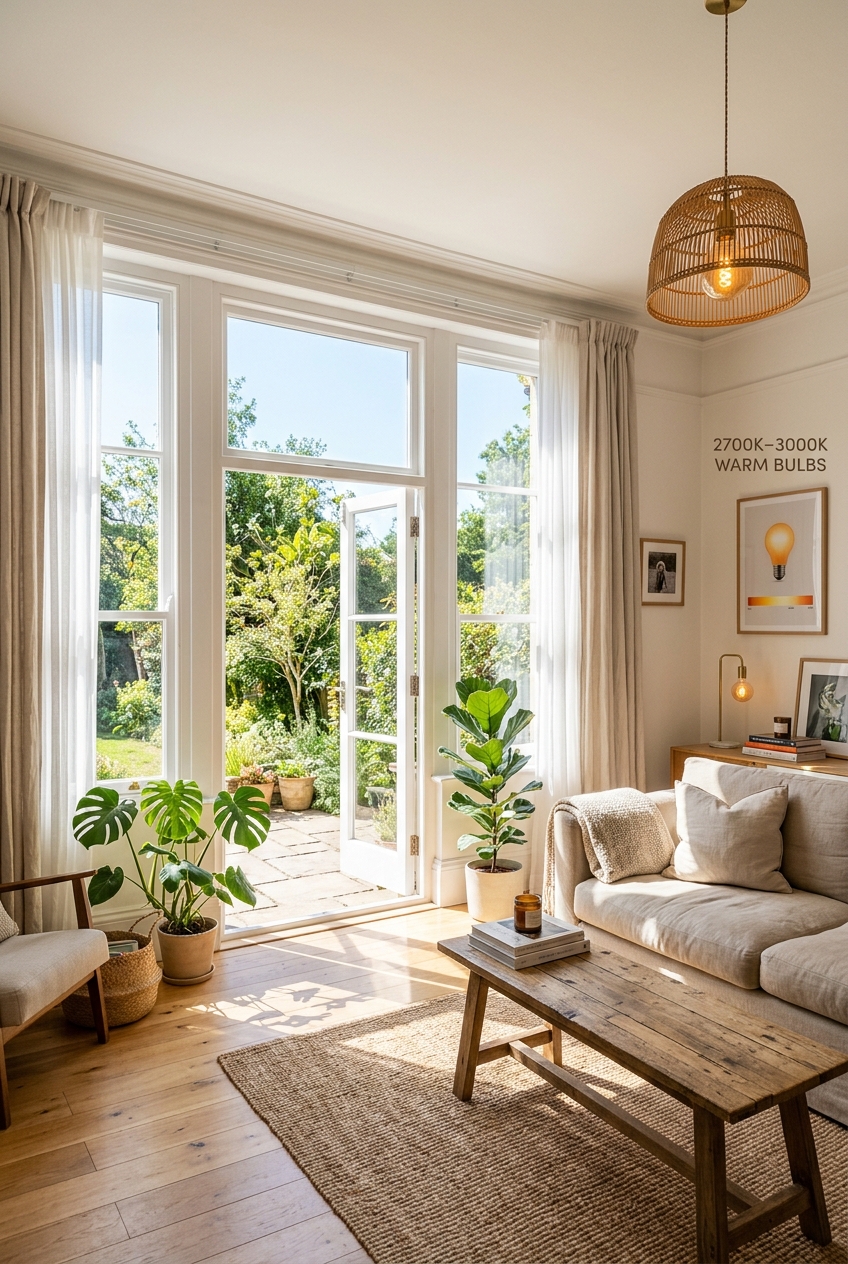
Light is what makes photos sell, and most listings are found on a phone screen before they’re found in person.
- Replace every bulb in the house with the same color temperature (2700K–3000K reads warm and inviting)
- Open all blinds and curtains fully for showings
- Add a lamp to any corner that stays dim at noon
- Trim shrubs blocking exterior windows
Step 5: Float the furniture
Push everything against the walls so the room looks like a waiting area.
Pull seating into a conversational group, angle a chair, and leave clear walkways of at least 30 inches.
Define the purpose of every room — that awkward nook becomes a reading corner with one chair and a lamp.
Step 6: Refresh the soft goods
This is where a small budget goes furthest. Fabric changes a room’s perceived age faster than paint, and it photographs beautifully.
Hang window treatments high and wide — mount the rod four to six inches above the frame and extend it past the window on both sides so the glass looks larger.
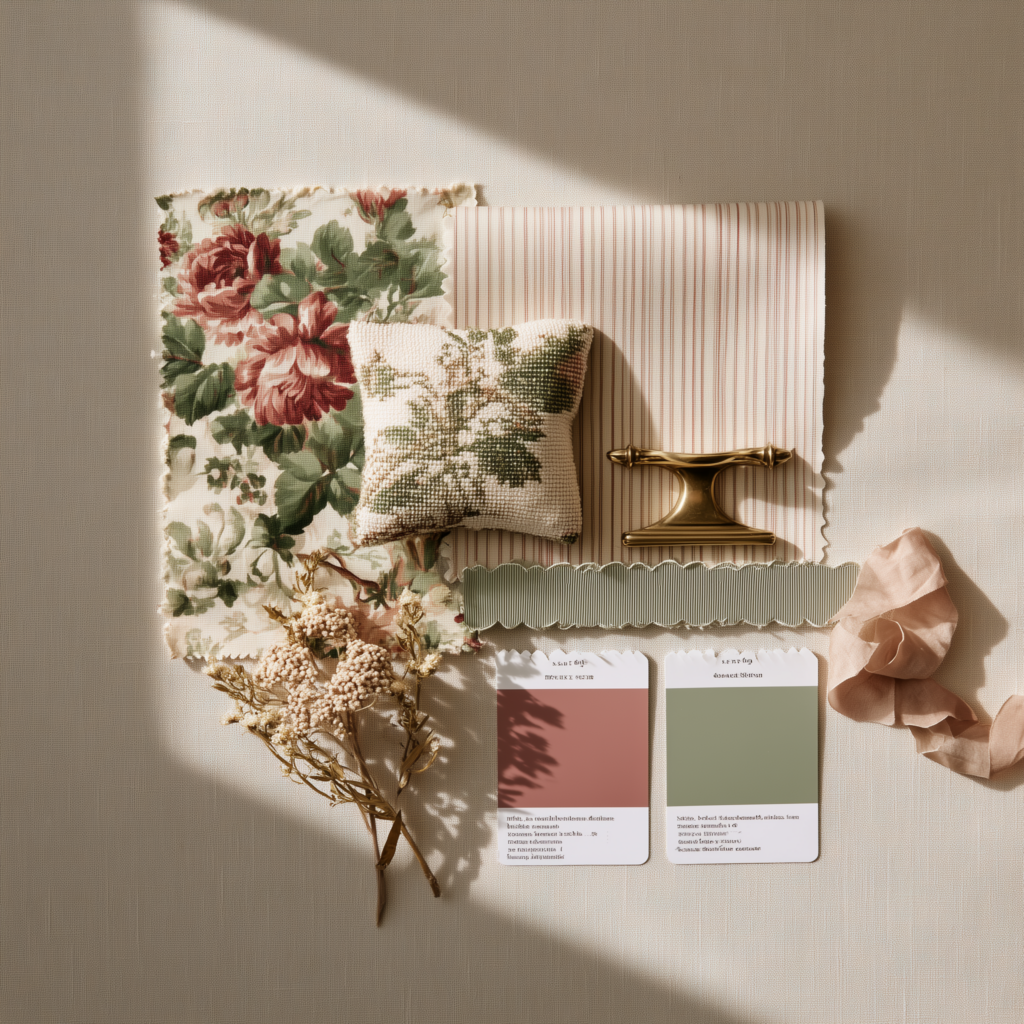
Floor-length panels in a neutral or gently patterned fabric, like the linen and cotton styles in the Country Village Shoppe curtains collection, add height and softness without competing with the view.
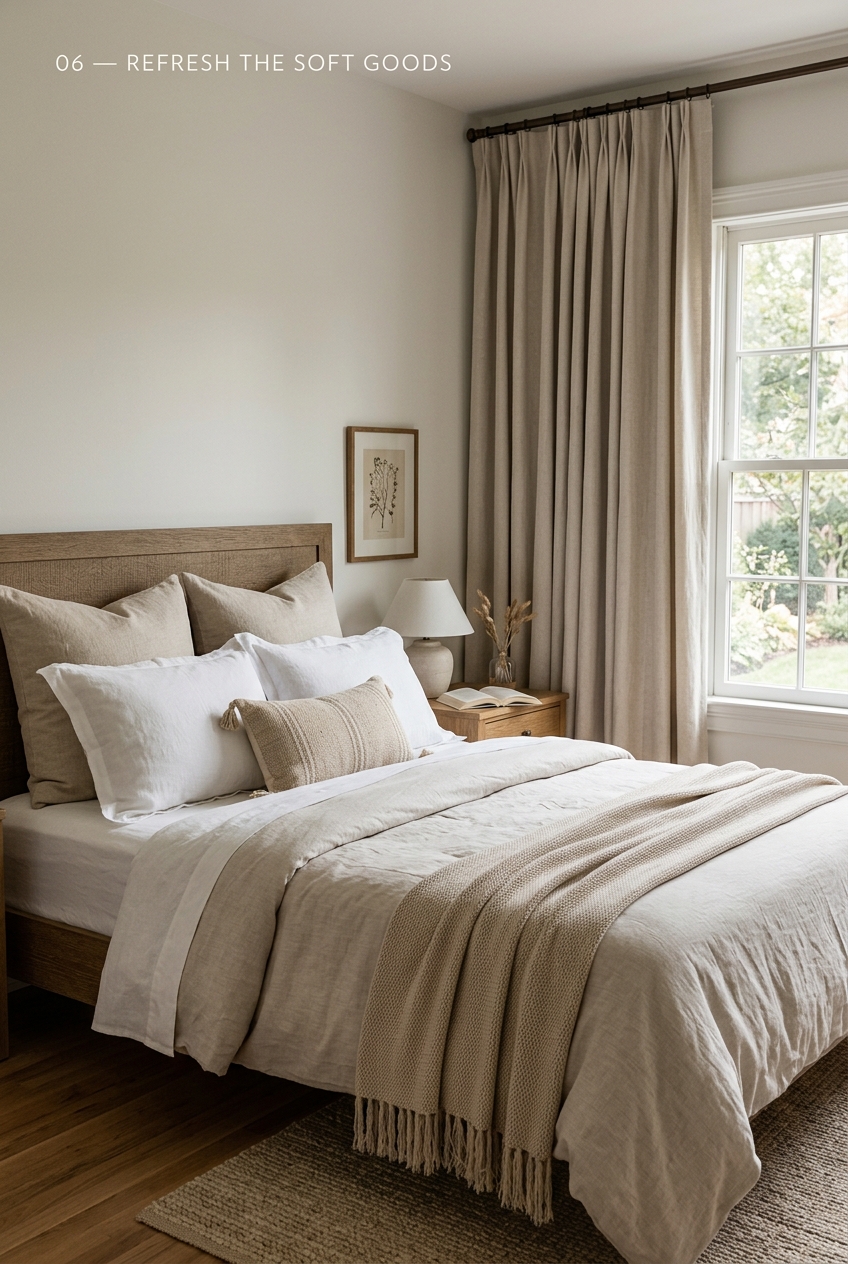
In bedrooms, strip the bed down to clean, layered bedding in one calm palette. White, oatmeal, sage, and soft blue photograph best.
Quilted and textured options, such as Crane Home bedspreads, add dimension in listing photos, where flat comforters tend to look deflated.
Add two to four pillows — no more — and iron out the fold creases before the photographer arrives.
Room-by-room priority order
If you only have one weekend, work in this order:
- Kitchen — clear counters, clean appliances, one bowl of fruit
- Primary bedroom — new bedding, matching lamps, empty nightstands
- Living room — float furniture, add a large area rug if the floor is worn
- Bathrooms — new white towels, no personal products visible
- Entry — one mirror, one small rug, nothing on the floor
- Curb appeal — mow, mulch, paint the front door, add two planters
What to skip
Don’t repaint the whole interior unless walls are damaged or bold. Don’t remodel a kitchen to sell it. Don’t buy furniture.
And don’t stage rooms you’re still living in so aggressively that daily life becomes impossible — you may be showing for weeks.
Common questions
Does staging really increase the sale price?
Agents consistently report faster sales and stronger offers on staged homes, largely because staged listings photograph better and attract more showings.
Should I stage an empty house?
Yes — at minimum, stage the living room, primary bedroom, and dining area. Empty rooms look smaller and expose every flaw.
What if my furniture is dated?
Slipcovers, neutral throws, and fresh bedding neutralize dated pieces for a fraction of replacement cost.
Stage the house you’d want to walk into. Then take the photos before you live in it again.